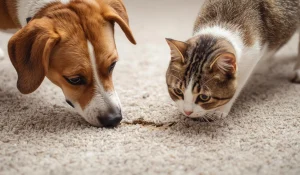
A small tear, a stubborn burn mark, or a pet’s scratch can make your carpet look older than it really is. Many people jump straight into fixing it themselves, but without knowing the common pitfalls, the repair can look worse than the damage. This guide walks you through the biggest DIY carpet repair mistakes that homeowners often make, why they happen, and how to prevent them.
Why DIY Carpet Repairs Often Go Wrong?
Right after people start tackling carpet issues, they realise that simple fixes can quickly turn into bigger DIY carpet repair problems if preparation, tools, and patience aren’t on point. This is why many homeowners later question whether DIY or professional carpet repair is the smarter choice, especially when mistakes become costly (as explained in our guide on DIY vs professional carpet repair for Sydney residents.
It’s not always about skill alone and sometimes it’s about skipping the basics. From using the wrong adhesive to ignoring the direction of the carpet pile, even small oversights can leave behind an obvious patch or create tripping hazards. The good news? Most of these issues are preventable with the right approach.
The Biggest Mistakes Homeowners Make
When it comes to patching or fixing carpets, there are a handful of DIY carpet repair mistakes that keep showing up. Knowing them in advance saves you stress and money.
- Wrong adhesive choice – Household glues or too much glue can stiffen fibres, cause discolouration, or let the patch peel away.
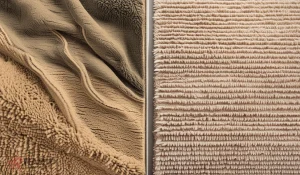
- Ignoring carpet nap and direction – If the patch pile runs opposite, the difference is instantly visible.
- Poor cutting tools – Dull blades or rough cuts leave jagged edges that never blend in.
- Skipping proper stretching – Without stretching, carpets wrinkle, bubble, or lift at the seams.
- No subfloor prep – Dusty, uneven, or damp subfloors weaken the bond.
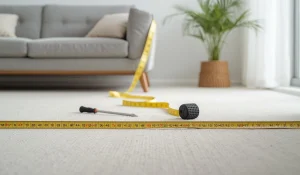
- Rushing the process – Skipping a dry-lay check often leads to uneven patching or mismatched patterns.
- Overlooking fading – Newer carpet often looks brighter, so matching against worn areas matters.
If you’re attempting repairs at home, using the correct tools is essential. Our beginner-friendly DIY carpet repair tools guide explains what you actually need and what you can skip.
Mistake 1: Using the Wrong Adhesive
Many repair fails start because people don’t realise that carpet glue isn’t the same as standard glue. Within minutes of patching, people see the first signs of DIY carpet repair problems like stiff edges or glue bleeding into the fibres.
The solution is simple: use carpet-specific adhesive or seam tape, apply sparingly, and let it get tacky before pressing the patch in. This ensures flexibility and a cleaner finish, something professionals strongly recommend in their expert carpet repair advice.
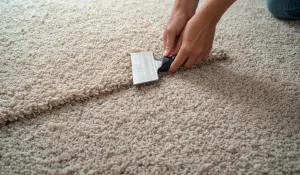
Mistake 2: Bad Patch Alignment
Right after aligning patches, most homeowners spot the obvious issue – common carpet patch mistakes like mismatched nap or pattern make the patch stand out under normal lighting.
Carpet has a direction, called nap, that reflects light differently depending on angle. If your patch doesn’t match this, it looks like a completely different shade. Always check nap direction under natural light before gluing anything down.
Mistake 3: Poor Stretching
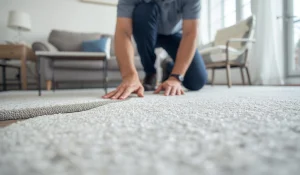
Wrinkles and raised seams don’t just look ugly; they’re also a tripping hazard. A big reason for these DIY carpet repair mistakes is skipping proper stretching equipment.
Hand-stretching rarely holds up, especially on larger areas. A knee kicker is a bare minimum, while professionals use power stretchers to ensure the carpet is tight and flat. If you don’t stretch it right, the repair will eventually fail—one of the clear signs it’s time to call a carpet repair specialist instead of continuing DIY attempts.
Mistake 4: Rushing the Work
Homeowners often get frustrated and push to finish repairs quickly. That’s when DIY carpet repair fails happen, edges aren’t aligned, glue hasn’t set, and patterns don’t match properly.
A good repair job takes patience. Always dry-lay the patch first, double-check lighting and alignment, and only then start the adhesive process. Rushing creates seams that are nearly impossible to hide later.
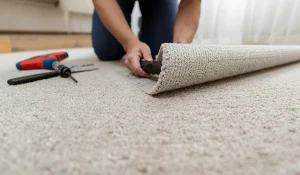
Mistake 5: Neglecting Subfloor Prep
It’s easy to focus on the carpet and forget what lies underneath. But poor prep here can trigger serious DIY carpet repair problems like uneven surfaces or peeling edges later on.
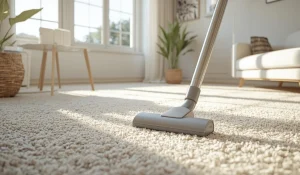
Always clean and smooth the subfloor before starting. Make sure it’s dry and debris-free, otherwise the patch won’t bond securely and will start lifting after a few weeks.
Mistake 6: Forgetting About Fading
One of the most overlooked common carpet patch mistakes is ignoring how much carpets fade over time from sunlight or regular use.
If you pull a patch from leftover stock that’s been sitting in storage, it will likely be brighter than your existing floor. Always compare under the same lighting, and if possible, take the patch from a less visible area like under furniture to better match wear.
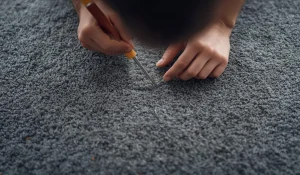
Mistake 7: Not Trimming and Blending Edges
Even when the patch is secure, the job isn’t done yet. Loose fibres need trimming and edges need blending, or else people notice obvious signs of DIY carpet repair fails every time they walk past.
Using a seam roller or lightly brushing the fibres helps merge the patch with the surrounding carpet. Some even use a low-heat hairdryer to fluff fibres into place. Skipping this step makes the repair stand out.
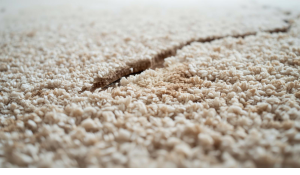
Mistake 8: Ignoring Minor Damage Until It’s Too Late
Small frays, burns, or pulled threads often look harmless at first. But ignoring them leads to bigger DIY carpet repair mistakes when those areas expand into tears.
The smart move is fixing small issues early like trimming fibres, sealing edges with carpet glue, or using small patches before the damage grows beyond a simple DIY fix.
Practical Tips to Avoid These Mistakes
If you’re serious about avoiding errors, keep these pointers in mind to reduce DIY carpet repair problems:
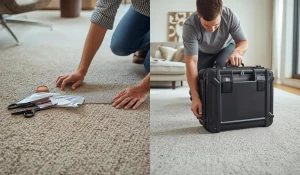
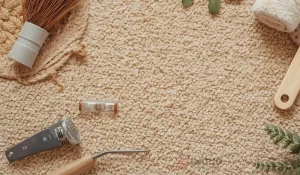
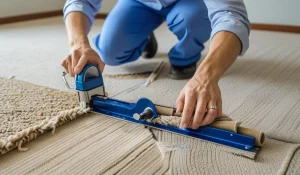
- Invest in the right tools: sharp utility knife, seam roller, carpet glue, knee kicker.
- Always dry-lay the patch before gluing.
- Match nap direction and check colour under daylight.
- Keep glue application light and even.
- Place weight on the patch for at least 6–8 hours while it sets.
- Trim and blend fibres after finishing.
These little habits make the difference between a patch that blends invisibly and one that screams “DIY.”
When to Call the Pros?
Sometimes it’s better to step back and let professionals handle it. Large tears, multiple burn marks, or widespread fraying are often beyond the scope of a home toolkit. If you keep hitting walls with DIY carpet repair fails, it’s time to bring in experts.
Professionals have access to stretchers, seam rollers, and colour-matching techniques that most households don’t. They can also handle complex issues like restretching entire rooms or seamlessly sewing frayed edges. In the long run, professional work can be more cost-effective than repeated DIY attempts.
Final Thoughts
At the end of the day, most DIY carpet repair mistakes happen because people rush the job or miss the little details that make all the difference. A small tear or burn might look simple to fix, but the wrong approach can leave you with an even bigger headache. If you want your carpet looking seamless, it pays to get it right the first time. Rapid Carpet Repairs specialises in professional fixes that blend perfectly and last. Don’t risk turning a small issue into a costly replacement. Call the experts today on 0480022382 and let us bring your carpet back to life with care and precision.